Colour Workshop 3.

13 October 2010


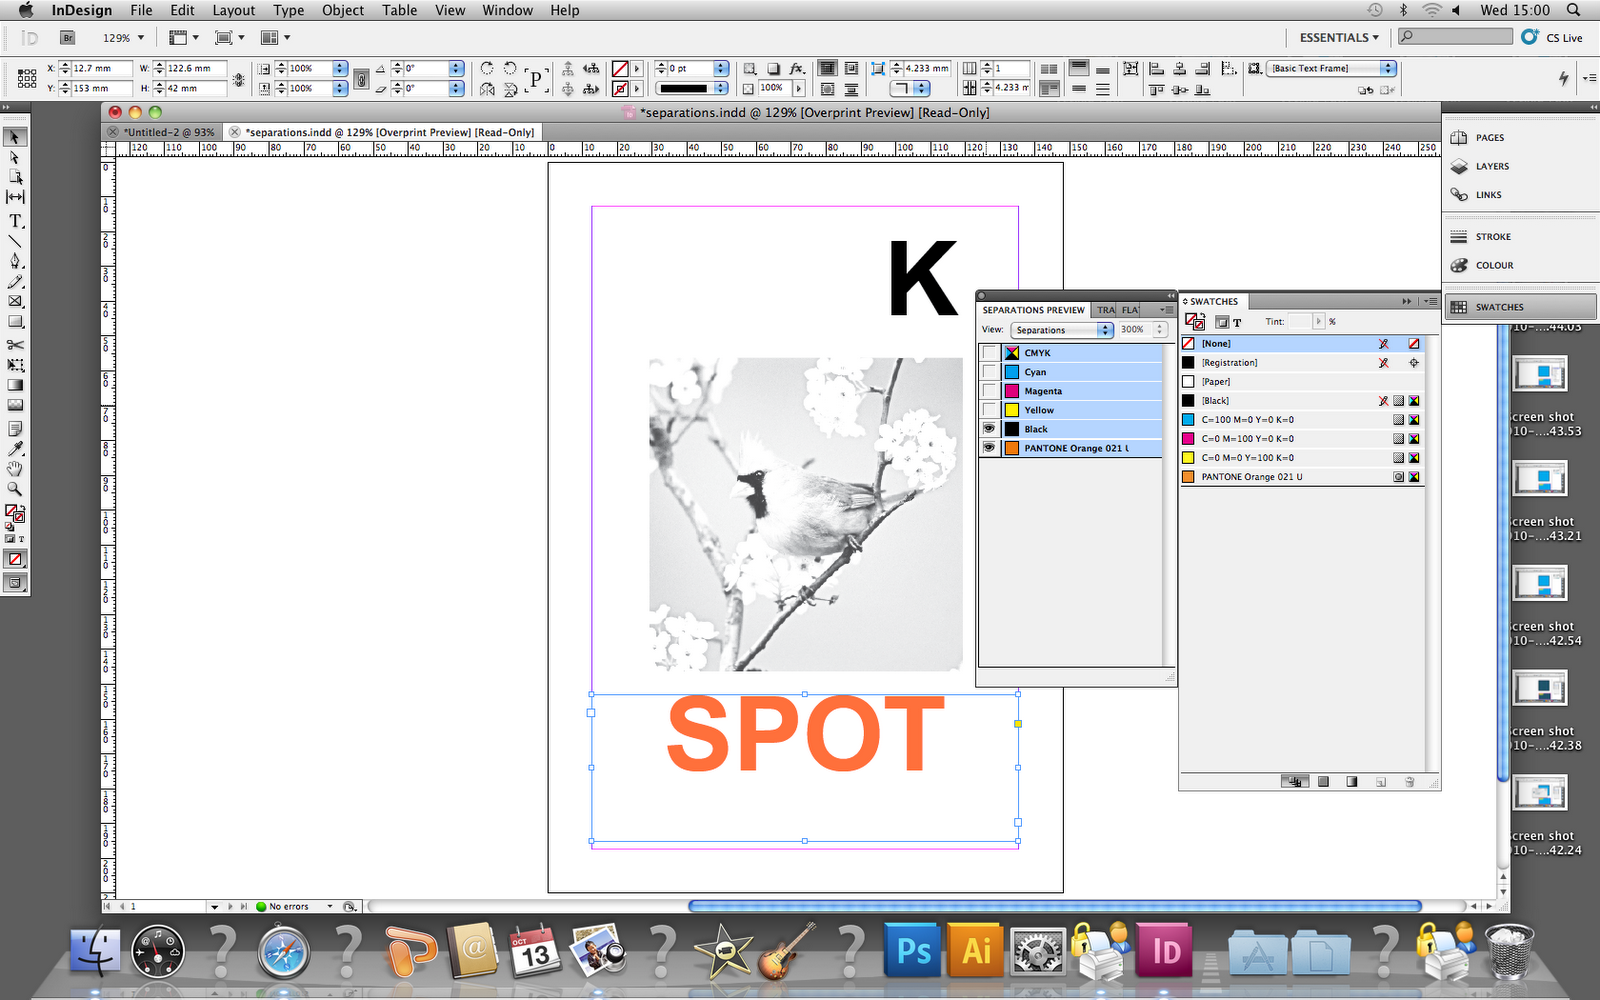
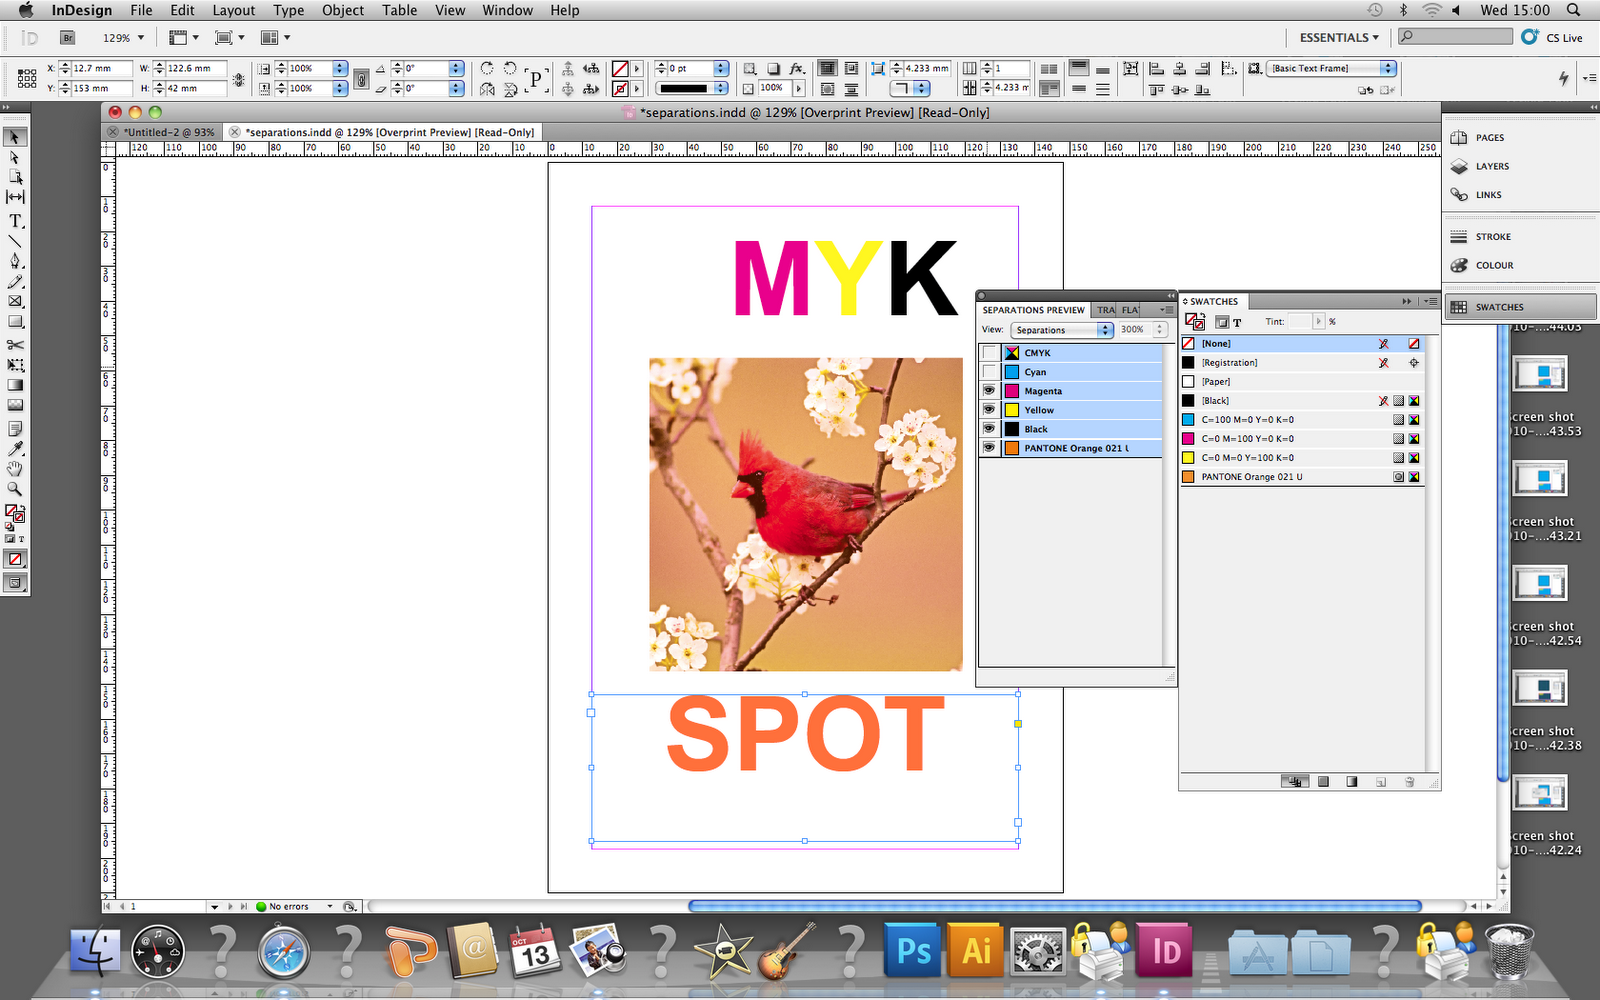
Click view and you can then see the separations and break
them down accordingly.

By going to the separations preview, you can then see
the way the image will be broken down and printed.
Getting and image ready for print:
Colour separations. In-Design will divide image up to CMYK.
Then produce black and white image for each colour. Its
the similar process to screen printing in college. 
The image being changed using the swatches.
Once you have selected the image within the frame you can
then use the colour swatches to add colour to the image.
By selecting the whole image, by grabbing the circle part it will
move the image within the frame.
Here i placed a greyscale image.
here i am looking at placing an image onto in-design. By
adding an image from photoshop, the pantone duotones will transfer
automatically into the swatches library. that means you can match up the text
with the image.
By going to pages, you can then double up the page by dragging the page down below
and you have a double page.
Click add.
Select a pantone and then it will transfere.
Select the 'process' drop down menu and then select the
pantone you want to use.
The next stage is to add spot colours to the swatches. again you go through
the same process but this time you use the drop down menu
that pops up.


You can also select it by going to the drop down menu again and selecting 'New tint swatch'.
This does the same thing except you can change the tonal values you just
change the tint. 
In order to change the huge and the tint, select the colour menu and then
edit it accordingly, it will then change the whole colour scheme again.


You can also take an original colour and edit it by double clicking it and
changing the tone value. By doing this it will change that colour but across
everything. So if you want that colour to be darker you do it this way. 

It will then appear in your swatches menu. 
Edit the colour accordingly to what you want and then add. 

The next stage is to add a colour to the swatches. Its the same
process as adding a swatch in illustrator, or very similar at least.
you click the drop down menu and add new swatch. 
The process is exactly the same for text except you
need to highlight the text.
Changing the weight: You select the stroke button and 
then change the weight accordingly, i've done it here so you
can see it clearly. 
Then switch to the outline, and select another colour.
Creating fill and adding colour with swatches:
Create the box then click the top left button, 'fill' then 
select Cyan. 
Bleed: Always apply bleed margin. Images always extend
over the page because of the inaccuracy of the trim. The standard
amount of trim is usually about 3mm. But always discuss with the printer,
because of substrate, files and bleed. The printer will have a preferred
amount of bleed for substrates and printers.

Facing Pages: Do you want to view the pages at the same time?
Meed to use this if its a book or a magazine. 

You can always use the W buttion to takeaway margins and gutters. 
Columns and Margins: These are all guides and help with
the layout of the document. They also help divide the page,
but you can still places text and images over them. 


Page Size: This focuses on how big the document is going
to be, the printed and trimmed size not the actual size of the
paper. Everything is always trimmed so for example, if you wanted
to print an A4 poster, you would print onto an A3 in order to allow
for bleed etc. 

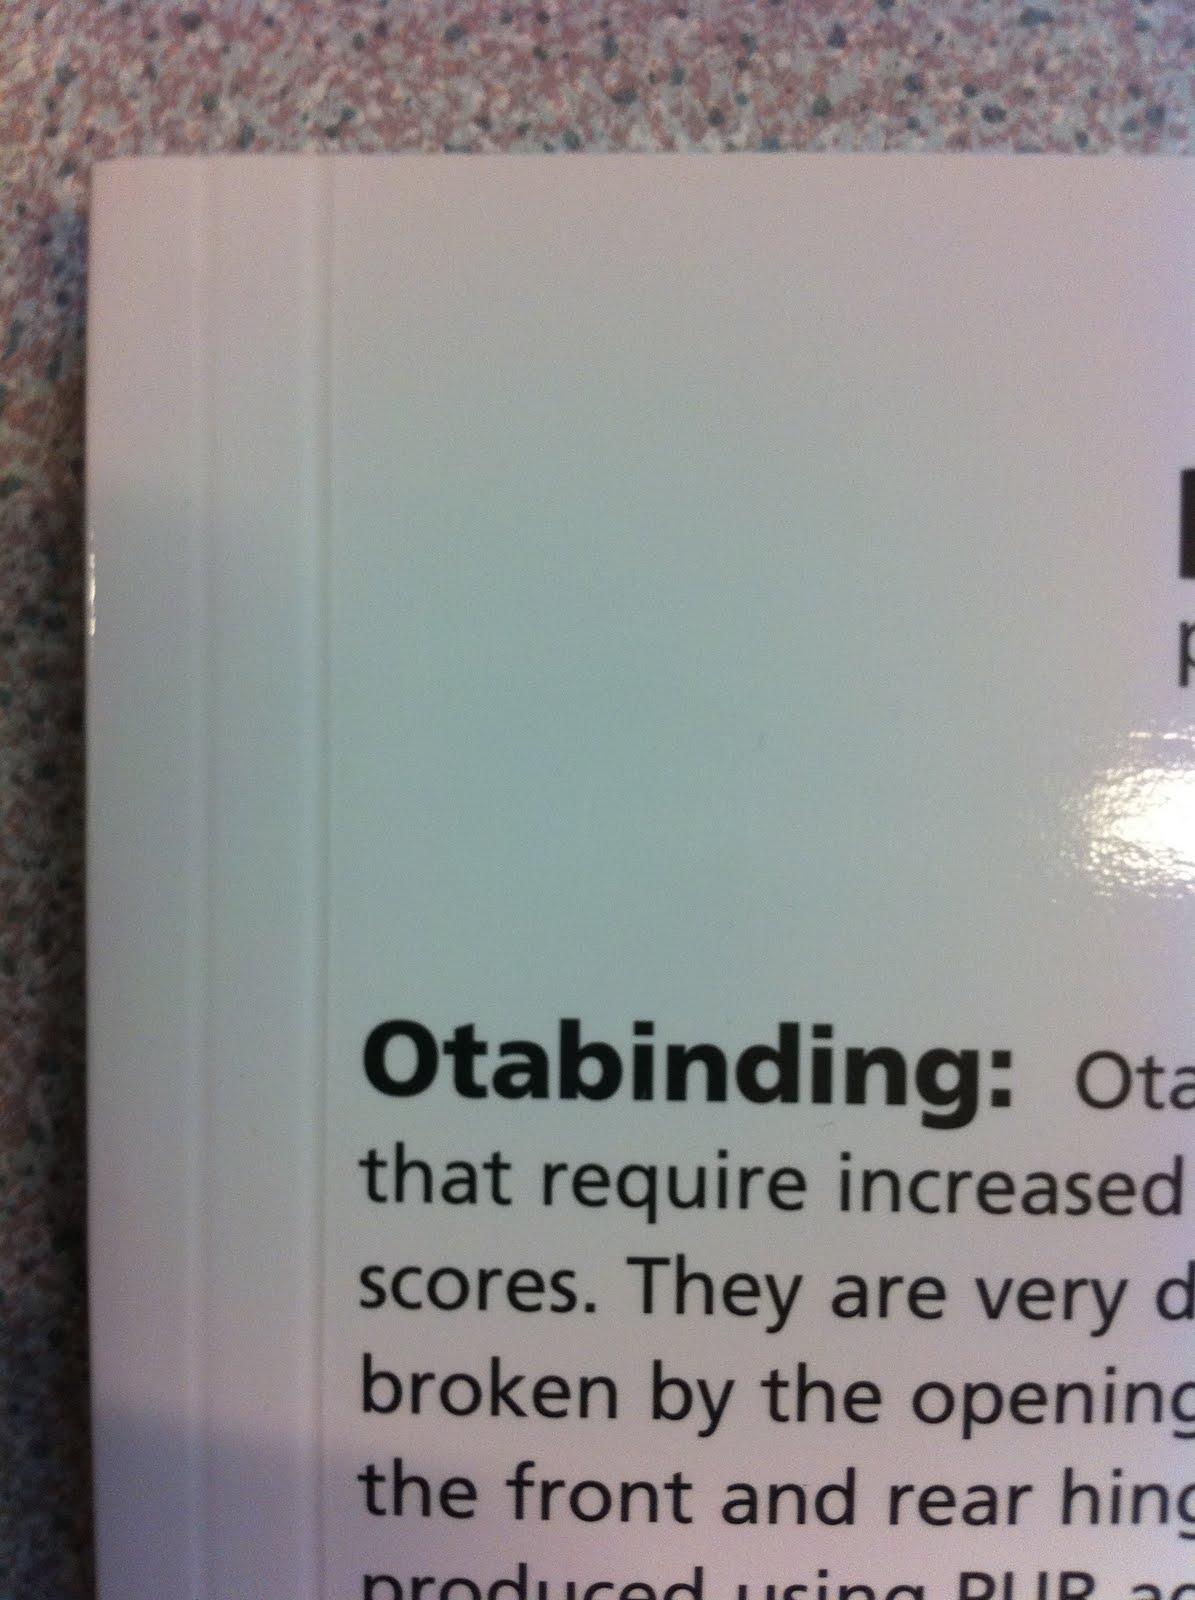
FINISHING - binding

12 October 2010

In todays session we managed to have a look at finishing bindings, i have been looking into them and it was good to actually be able to look at them and handle them. I first looked through them and then took loads of pictures to remind myself of each one. In the pictures it gives an explanation of what each binding is as well as an image that shows the outside as well as the binding. Each explanation is thorough enough for me so i decided to just post the images.


FINISHING - binding


FINISHING - binding


FINISHING - binding


FINISHING - binding


FINISHING - binding


FINISHING - binding


FINISHING - binding


FINISHING - binding


HEXACHROME


Hexachrome is the process of printing with 6 colours. So CMYK plus red and green. It gives a wider colour gamet. Its very rarely used now, but it can look very effective at times.

Printing Pint Glasses


Promotional Pint Glasses

A pint glass is a must have for people who love to drink. People who love beer are the biggest fans of a pint glass. This is the reason many companies use a promotional pint glass for many marketing and advertising campaigns. A pint glass is very inexpensive and even giving it away for free doesn’t pinch a company. On the brighter side, apromotional pint glass definitely attracts new customers and helps increase the sales and revenue of the company.

Branded Pint Glasses

Branded gifts form an important part of a marketing campaign. It makes business sense to find branded products that offer an edge. Branded pint glass is a practical and long lasting business gift. A Branded pint glass is a hi quality promotional product. A branded pint glass is attractive and useful and it gets noticed very easily by potential customers.

Printed Pint Glasses

A printed pint glass with the company name and logo and a variety of clever slogans and comments is bound to attract the attention of potential customers and clients. A printed pint glass makes a valuable business gift at various shows and seminars. It is easy to procure at a low cost. To print a pint glass, a company can approach one of the many printing houses in the country and specify its needs. With the latest in printing technology, a printed pint glass can be created within a short time span and low cost.

Imprinted Pint Glasses

An imprinted pint glass has the ability to attract consumers. Due to its size and shape, a pint glass always finds takers. If a set of attractively packed pint glasses is showcased in a store, it will act as a bait to lure existing as well as potential customers. An imprinted promotional pint glass can make customers change brand loyalty.

Custom Pint Glasses

Through customisation, companies can tell their customers that they value them and appreciate their business. During sales promotions and other events, a custom pint glass can be given away for free. This act will not only renew the faith of the existing customers but will also attract new customers. There are various ways to attract customers, but using promotional products is a sure shot way to retain and attract them. By promoting using a custom pint glass, customers are given something unique and the company is helped by way of repeated advertisements.

Personalised Pint Glasses

For any business to thrive, it is essential that the employees are happy. Happy employees are easily retainable and are more productive. They generate more profits for their company. If they are awarded a personalised pint glass as incentive for their past performance, they will certainly be happy employees. Through a personalised pint glass, a company will be able to present its brand statement and will be able to reinforce its brand image that will increase motivation and productivity. A personalised pint glass engraved with the name and achievement of the employee will prove to be a great motivational for the company